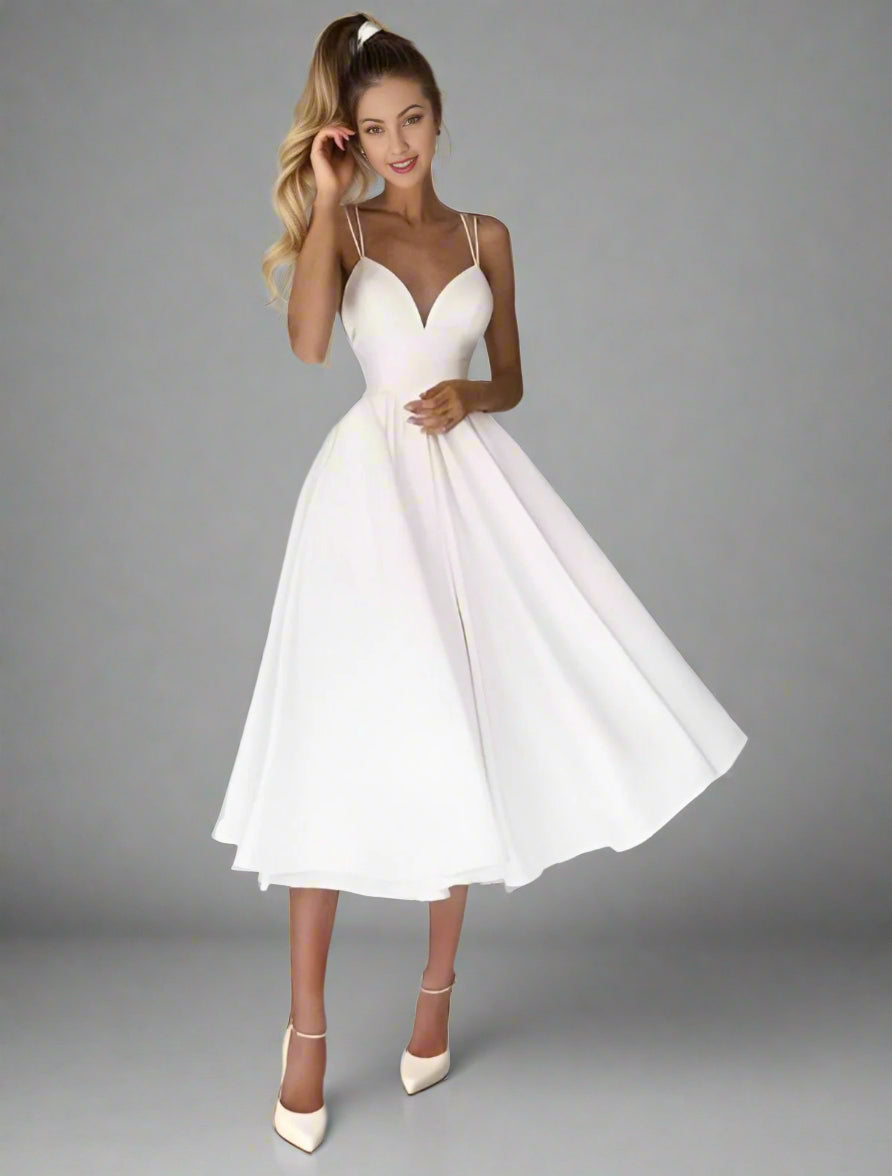
What to Bring to Alterations Essential Items: Wedding shoes: Exact pair youll wear, broken in Undergarments: Strapless bra, shapewear, correct style Hair clip: To approximate wedding hairstyle height Photos: Inspiration for desired changes Someone you trust: Second opinion on fit Optional but Helpful: Jewelry you plan to wear Veil or headpiece Photos of your venue and decor List of must-have changes ranked by priority Measurements if you have them Cost-Saving Alteration Tips Keep Costs Down: Schedule alterations early (rush fees are expensive) Prioritize essential changes only Choose simpler modifications over complex ones Break in your shoes before first fitting (avoids re-hemming) Maintain stable weight before alterations Most Expensive Alterations: Hand-beaded hem adjustments Complete bodice reconstruction Adding sleeves with complex details Matching discontinued lace or fabric Rush alterations (under 4 weeks) Budget-Friendly Options: Hem adjustment (most affordable) Strap shortening Simple bustle Taking in at side seams Adding modesty panel Special Situation Alterations Pregnancy: Wait until 4-6 weeks before wedding for measurements Empire waist accommodates growing bump Add panels at sides for expansion room Consider stretchy fabrics or corset back Plan for post-pregnancy changes Weight Fluctuation: Maintain stable weight 8 weeks before alterations Schedule first fitting when weight is stable Communicate weight goals to seamstress Consider corset back for flexibility Leave final fitting as close to wedding as possible Last-Minute Changes: Find seamstress who accepts rush orders Pay premium for expedited service Limit changes to essential only Be flexible on specific details Have backup dress plan Red Flags When Choosing a Seamstress Warning Signs: No portfolio of previous bridal work Promises alterations in unrealistic timeframes Doesnt ask about your wedding date Wont provide written estimates No clear policy on corrections or issues Deal Breakers: Refuses to do trial fitting before committing Cannot explain how theyll achieve your request No dedicated bridal alteration space Poor communication or missed appointments Negative reviews about wedding dress work specifically Alteration Preparation Checklist Before First Fitting: Wedding shoes purchased and broken in Correct undergarments purchased Weight stable for 2-3 weeks List of desired changes prioritized Reference photos gathered Seamstress consultation scheduled At Each Fitting: Wear exact wedding undergarments Wear exact wedding shoes Bring hair tie for updo simulation Test mobilitysit, walk, raise arms Take photos from all angles Ask questions about concerns Confirm next appointment date Before Final Pickup: Confirm pickup date and time Bring someone to help transport dress Bring garment bag for transport Plan to try on one final time Get steaming/pressing instructions Understand bustle mechanism Key Takeaways You can make most changes to your wedding dress after purchase including hemming, taking in or letting out seams, adding sleeves, changing necklines, and adjusting trains

for the shoulder straps
The buttoned waist tab, the single pleat, and the cuffed leg are all features that looked great 100 years ago and they look great today
Designer dresses are synonymous with exceptional craftsmanship and luxurious quality
ANDREW BRETON - United States Perfect fit and amazing looking fabric I have received the dress shirt from you guys and I must say it is amazing quality perfect fit and amazing looking fabric Tony H - United States Grey Suit Another great suit by Hockerty